
Have you ever found yourself immersed in the virtual reality world with your Oculus controller, only to have the battery die on you at the most inconvenient moment? Fret not, because changing the battery in the Oculus controller is actually a simple process that you can easily do yourself. In this article, we will guide you step by step on how to change the battery in the Oculus controller, ensuring uninterrupted gaming sessions and endless fun. So, let’s dive right in and learn how to change the battery in the Oculus controller!
How to Change the Battery in the Oculus Controller
As an Oculus user, you may find yourself needing to change the battery in your Oculus controller from time to time. Whether you’re experiencing shorter battery life or your controller simply won’t turn on, replacing the battery can solve these issues. In this guide, we’ll walk you through the step-by-step process of changing the battery in your Oculus controller, ensuring you can get back to your virtual reality adventures in no time.
Gather the Necessary Tools
Before you begin, it’s essential to have the right tools on hand. Here’s a list of items you’ll need to complete the battery replacement:
- A small Phillips screwdriver
- A replacement battery (compatible with your Oculus controller)
- A soft cloth or anti-static mat
Prepare Your Workspace
Creating a suitable workspace will ensure a smooth battery replacement process. Follow these steps:
- Clear a flat, well-lit area to work on, ideally a table or desk.
- Place a soft cloth or anti-static mat on the surface to protect your controller from scratches or damage.
- Ensure you have ample room to maneuver without any obstructions.
Remove the Battery Cover
Now that you have your tools ready and workspace set up, it’s time to remove the battery cover from your Oculus controller. Follow these instructions:
- Lay your Oculus controller on the soft cloth or anti-static mat with the buttons facing upward.
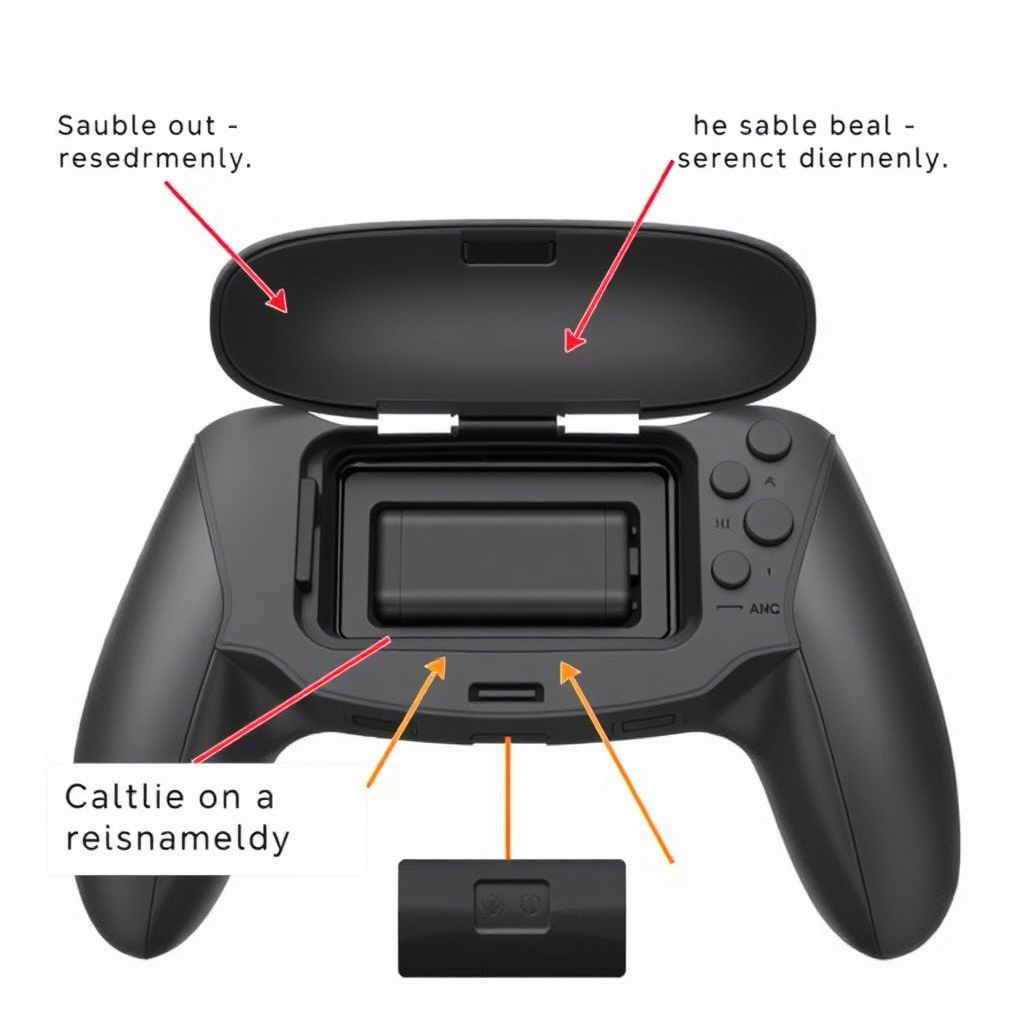
- Locate the battery cover on the back of the controller. It is the panel that covers the battery compartment.
- Using your small Phillips screwdriver, carefully unscrew the screws securing the battery cover in place.
- Set the screws aside in a safe place to avoid misplacing them.
- Gently lift the battery cover off the controller, exposing the battery compartment.
Replace the Battery
With the battery compartment now accessible, follow these steps to replace the battery:
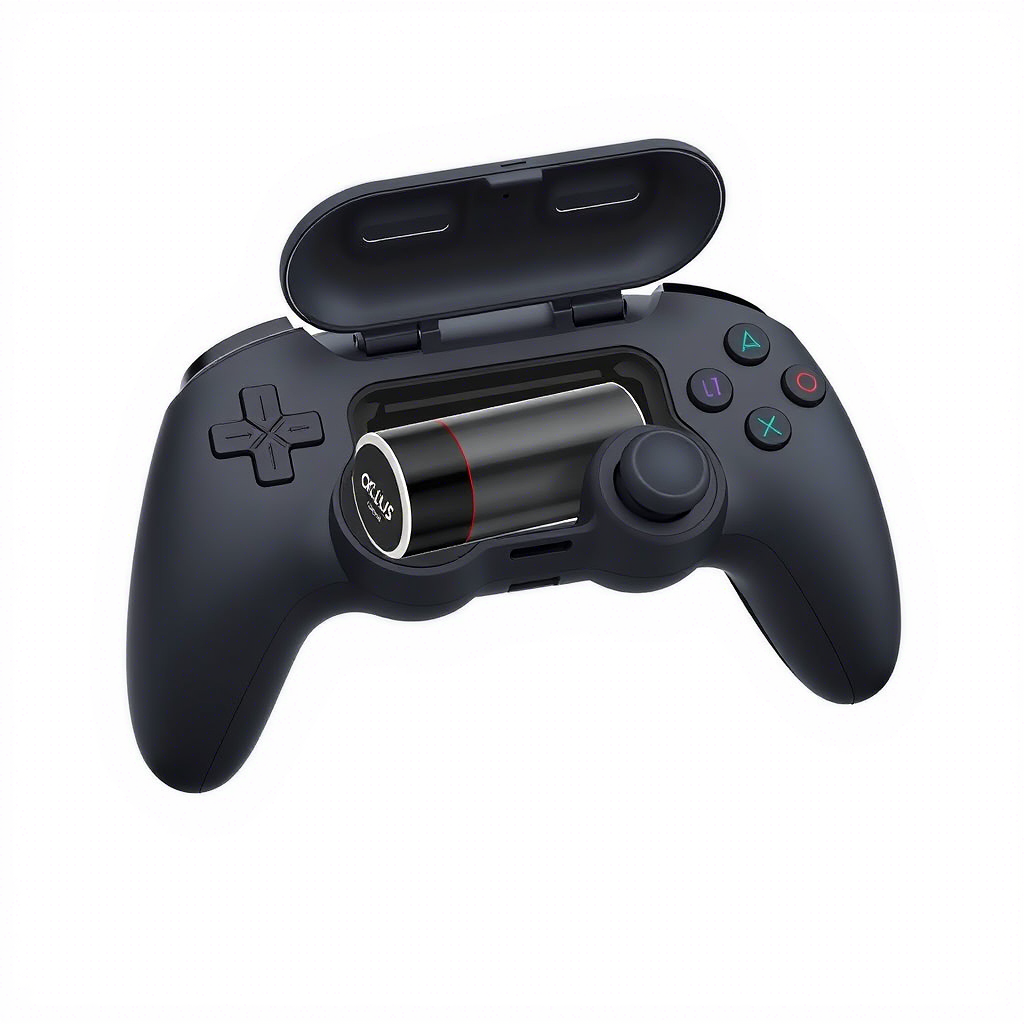
- Identify the old battery inside the compartment and carefully remove it, ensuring you don’t damage any surrounding components.
- Take your new battery and position it correctly, making sure the positive and negative terminals align with the corresponding markings in the compartment.
- Insert the new battery into the compartment, pressing it firmly but gently to ensure it is securely in place.
Reattach the Battery Cover
Now that you have inserted the new battery, it’s time to reattach the battery cover:
- Align the battery cover with the controller, ensuring the screw holes match up.
- Using your small Phillips screwdriver, carefully screw the screws back into place, securing the battery cover.
- Ensure the screws are snug but not overly tight, as that may damage the controller or make future removal difficult.
Test the Controller
With the battery replaced and the cover securely attached, it’s time to test your Oculus controller:
- Press and hold the Oculus or Menu button on the controller until it turns on.
- If the controller powers on and connects to your Oculus device, you have successfully replaced the battery.
- If there are any issues, double-check that the battery is inserted correctly and that the battery cover is securely in place.
It’s worth noting that the battery life of your Oculus controller may vary depending on usage and battery quality. If you find yourself frequently replacing batteries, consider investing in rechargeable batteries to save costs and reduce waste.
Frequently Asked Questions
How do I change the battery in the Oculus controller?
To change the battery in the Oculus controller, follow these steps:
What type of battery does the Oculus controller use?
The Oculus controller uses a single AA battery.
Where is the battery compartment located in the Oculus controller?
The battery compartment is located on the backside of the Oculus controller. It has a small cover that can be slid open to access the battery.
How do I remove the old battery from the Oculus controller?
To remove the old battery, simply slide it out from the battery compartment by pushing on the end of the battery.
How do I insert a new battery into the Oculus controller?
Take a new AA battery and align it with the positive (+) and negative (-) indicators inside the battery compartment. Slide the new battery into the compartment, ensuring it is securely in place.
Can I use rechargeable batteries with the Oculus controller?
Yes, rechargeable batteries can be used with the Oculus controller. However, make sure to follow the manufacturer’s instructions for charging and usage.
Final Thoughts
Changing the battery in your Oculus controller is a simple process that can be done in a few easy steps. To begin, locate the battery cover on the back of the controller. Slide it open to reveal the battery compartment. Next, remove the old battery and replace it with a new one, making sure to align the positive and negative ends correctly. Finally, close the battery cover securely. By following these steps, you can easily change the battery in your Oculus controller and continue enjoying your virtual reality experience.
